
Fitted in two minutes.
A one-time, tool-free upgrade. Here's exactly how.
Three tools. That's it.
Standard hand tools you almost certainly own. You'll only ever need them once.
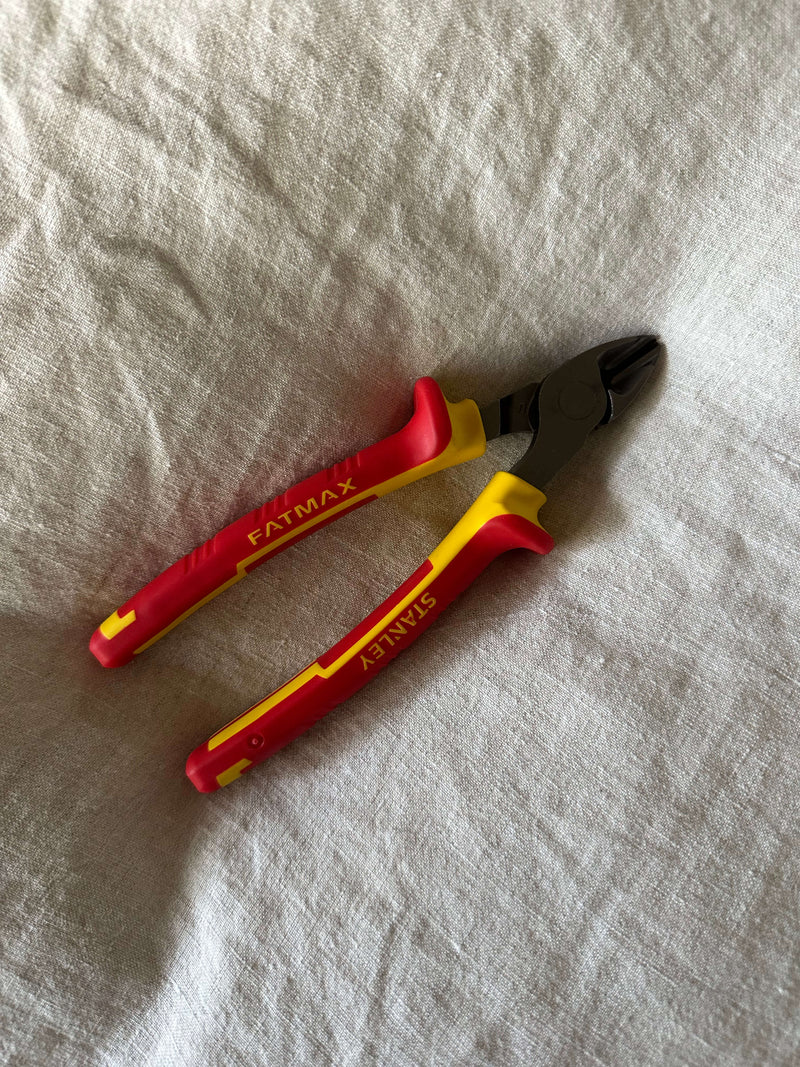
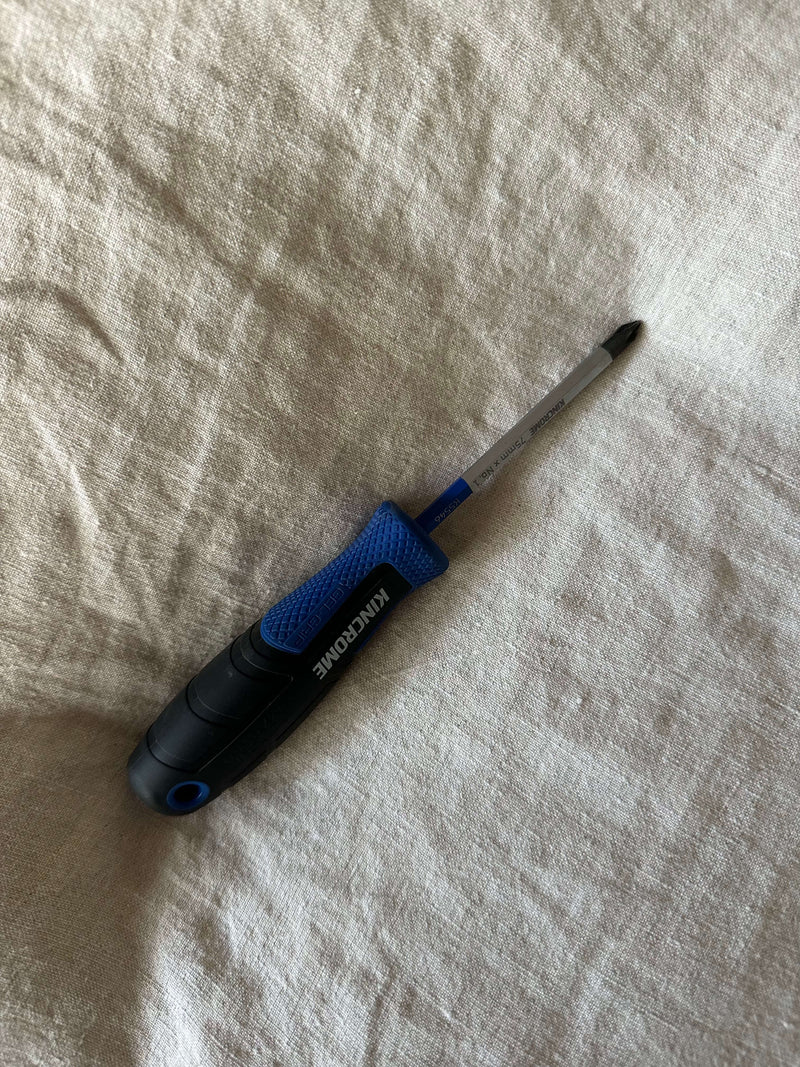
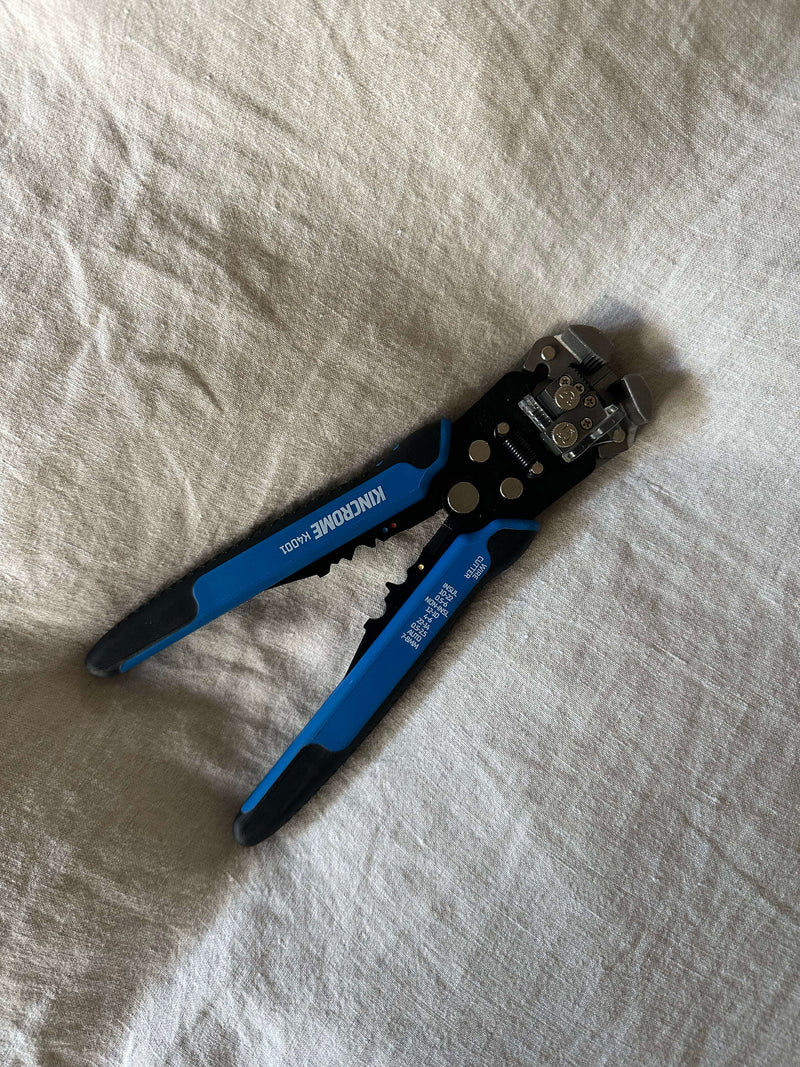
Cut off your old terminals
Use side cutters to remove the existing bolt-on battery terminal connectors. Disconnect the negative (-) terminal first.
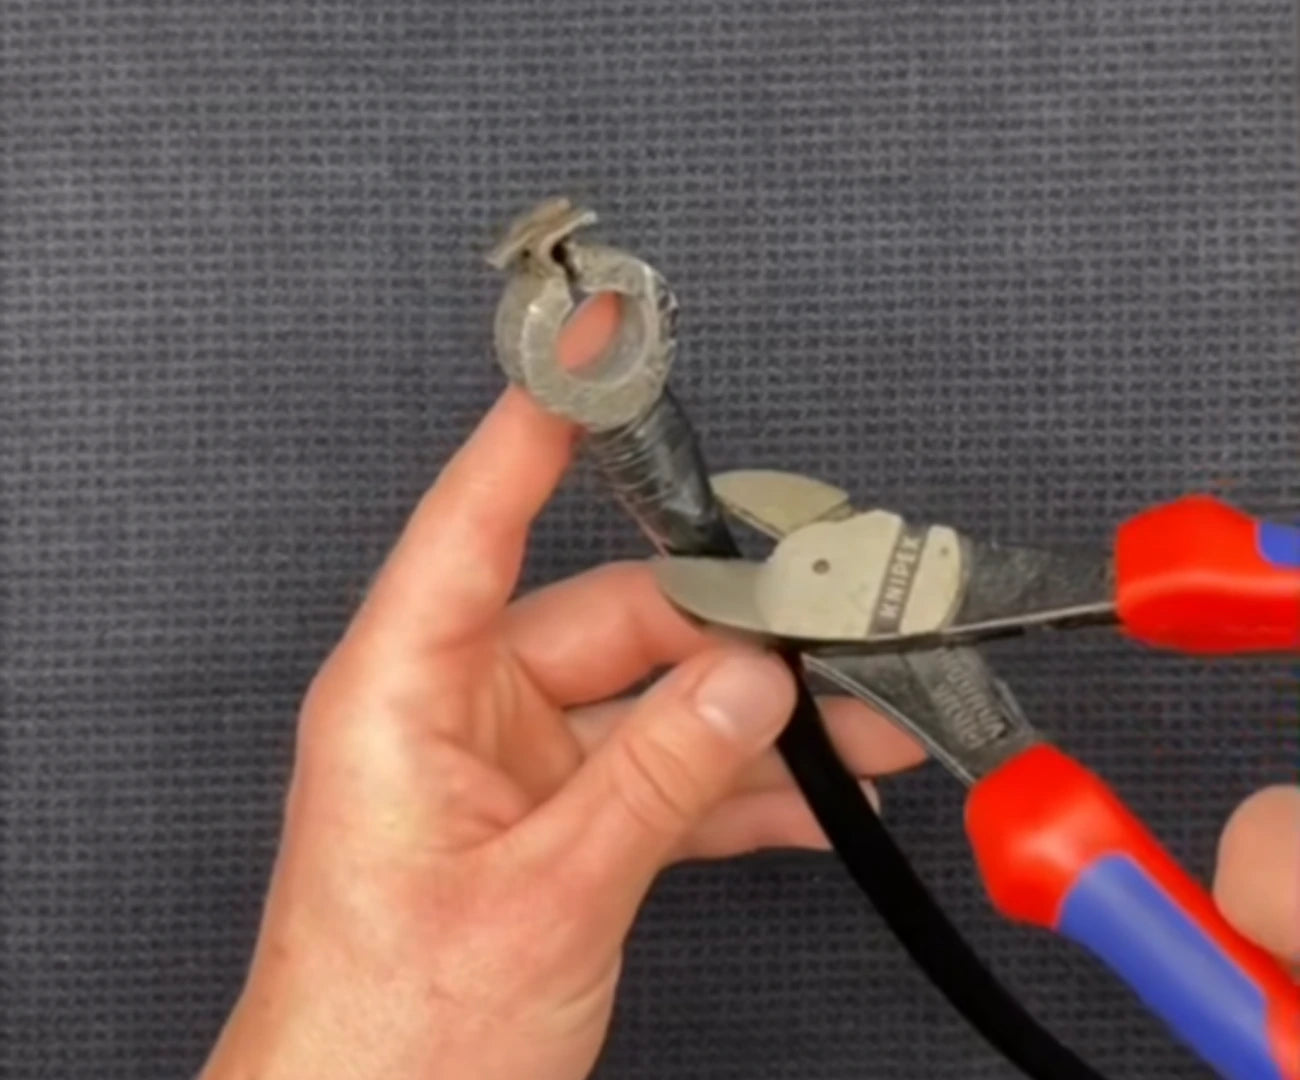
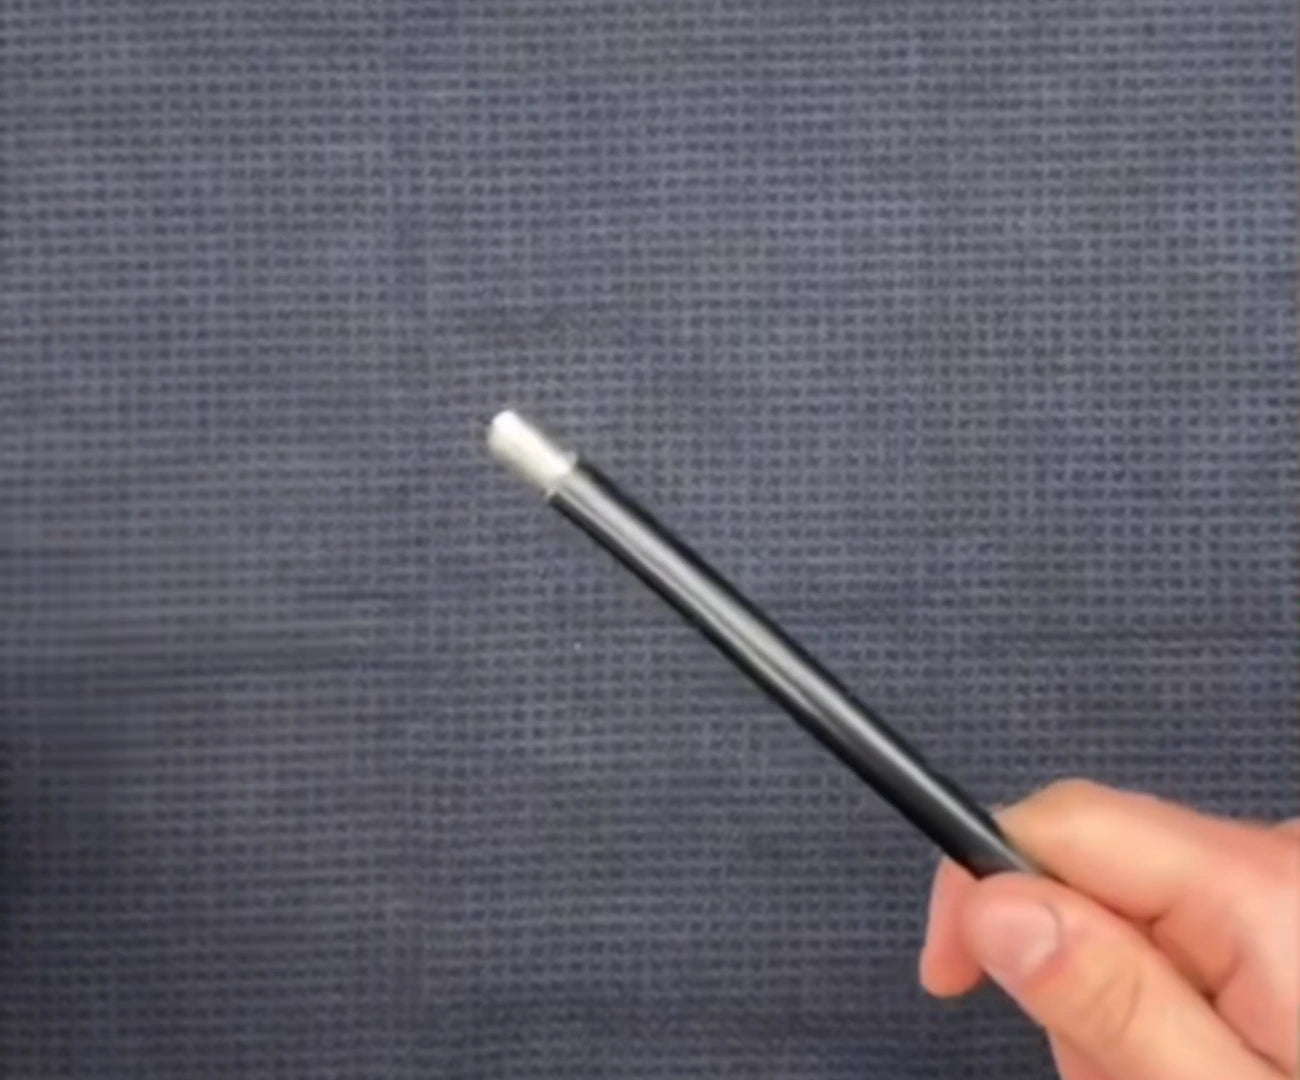
Strip & prep the wire
Strip around 10-12 mm of insulation to expose clean copper. Make sure the strands are straight, not frayed or bent.
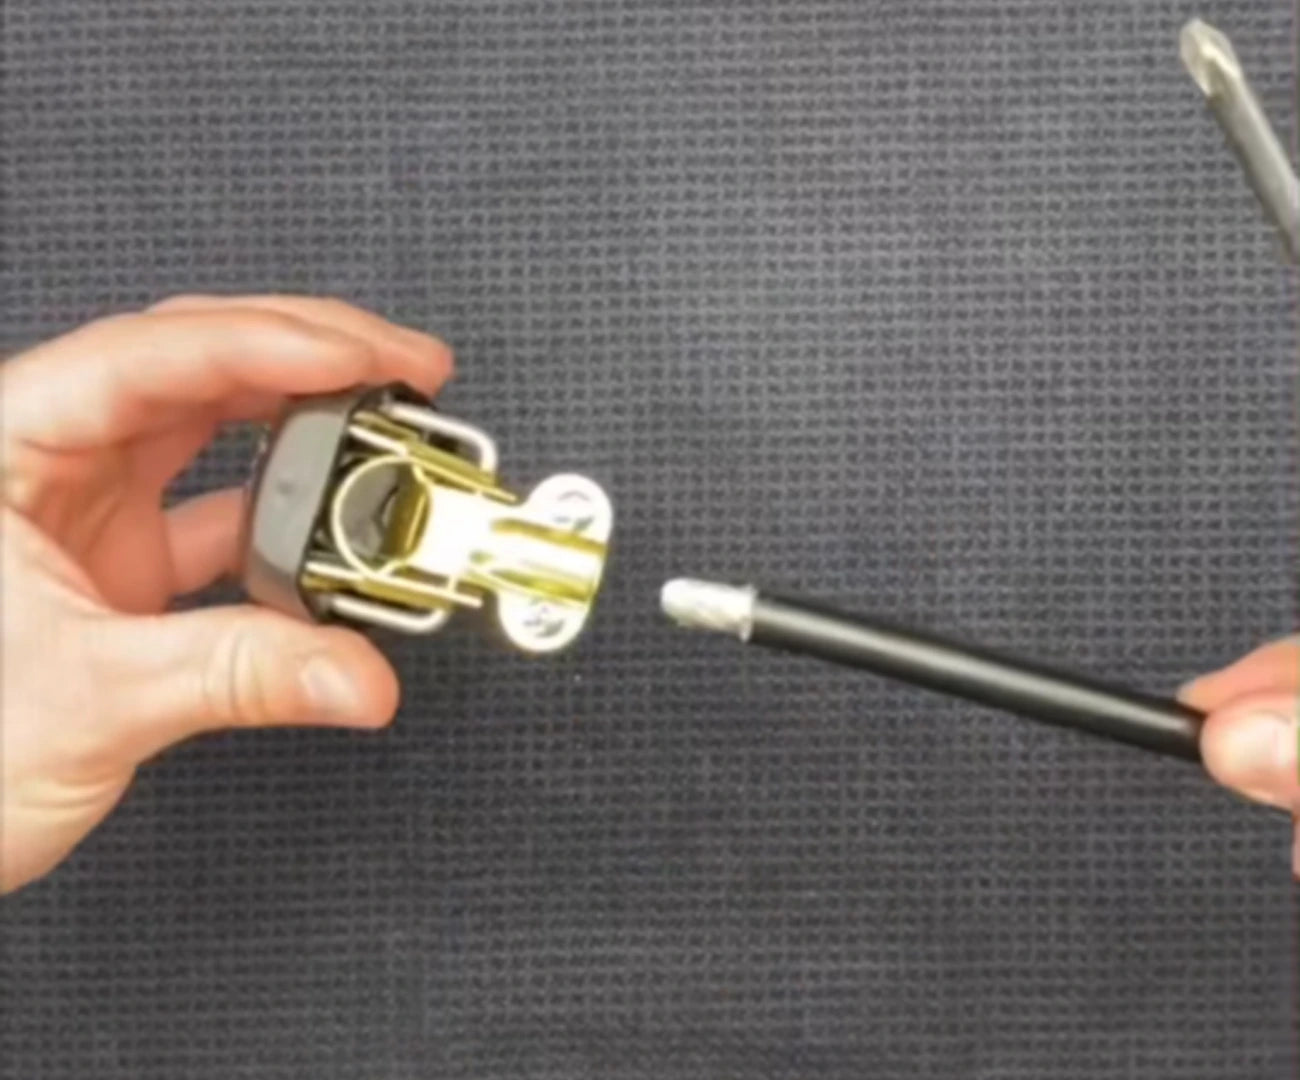
Insert the wire into the clamp
Slide the bare copper all the way into the clamp housing until it stops. It should sit snug and centred.
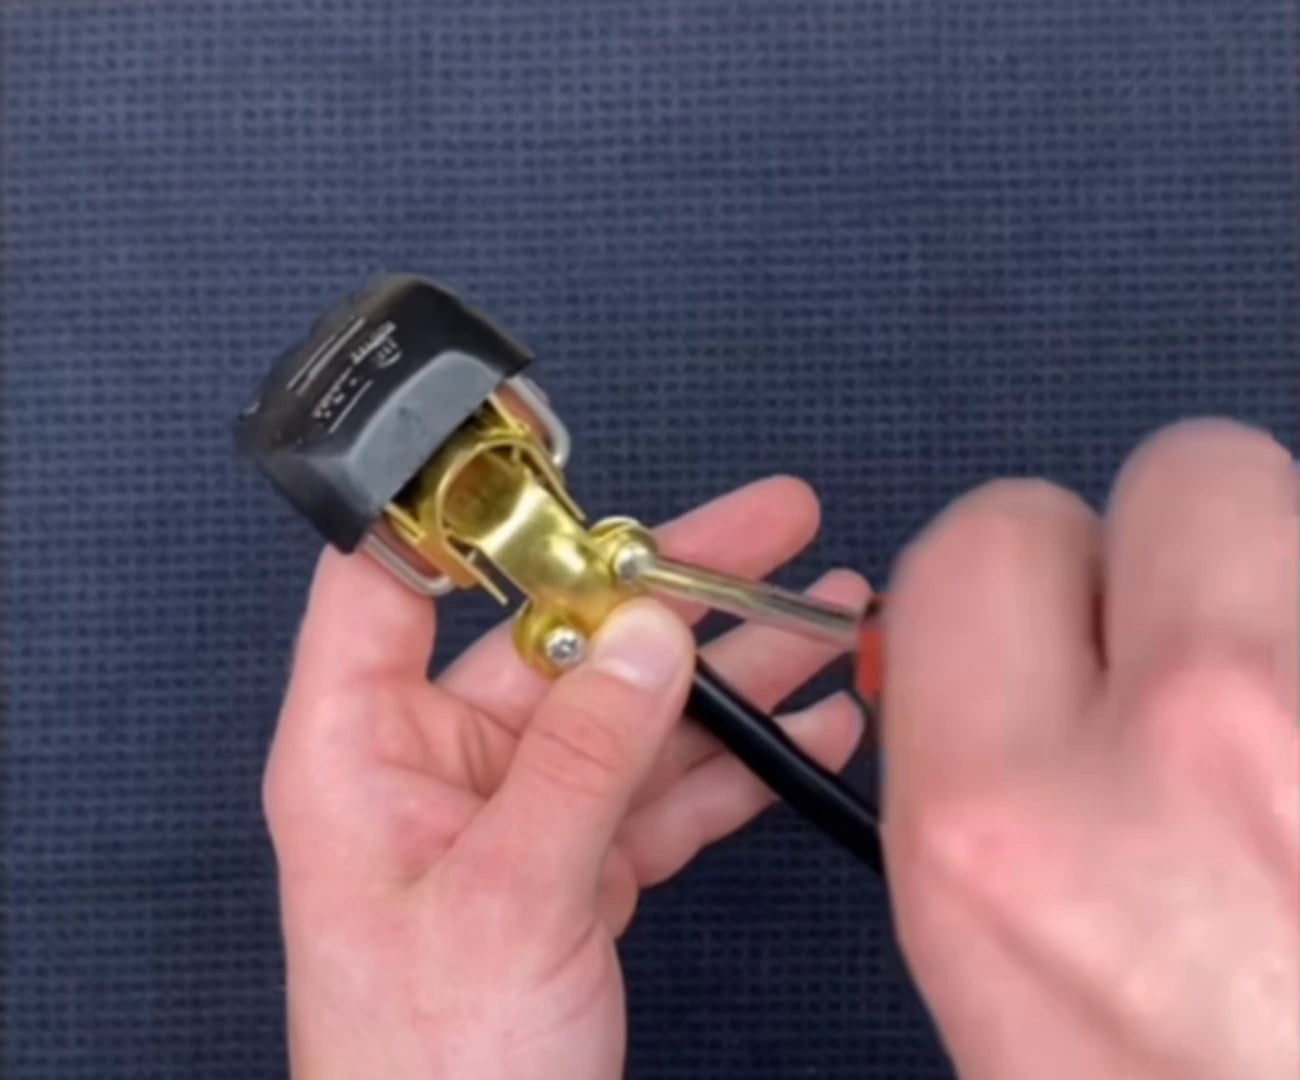
Secure the clamp
Tighten the clamp screws evenly with a screwdriver. Give the wire a light tug - it shouldn't move at all.
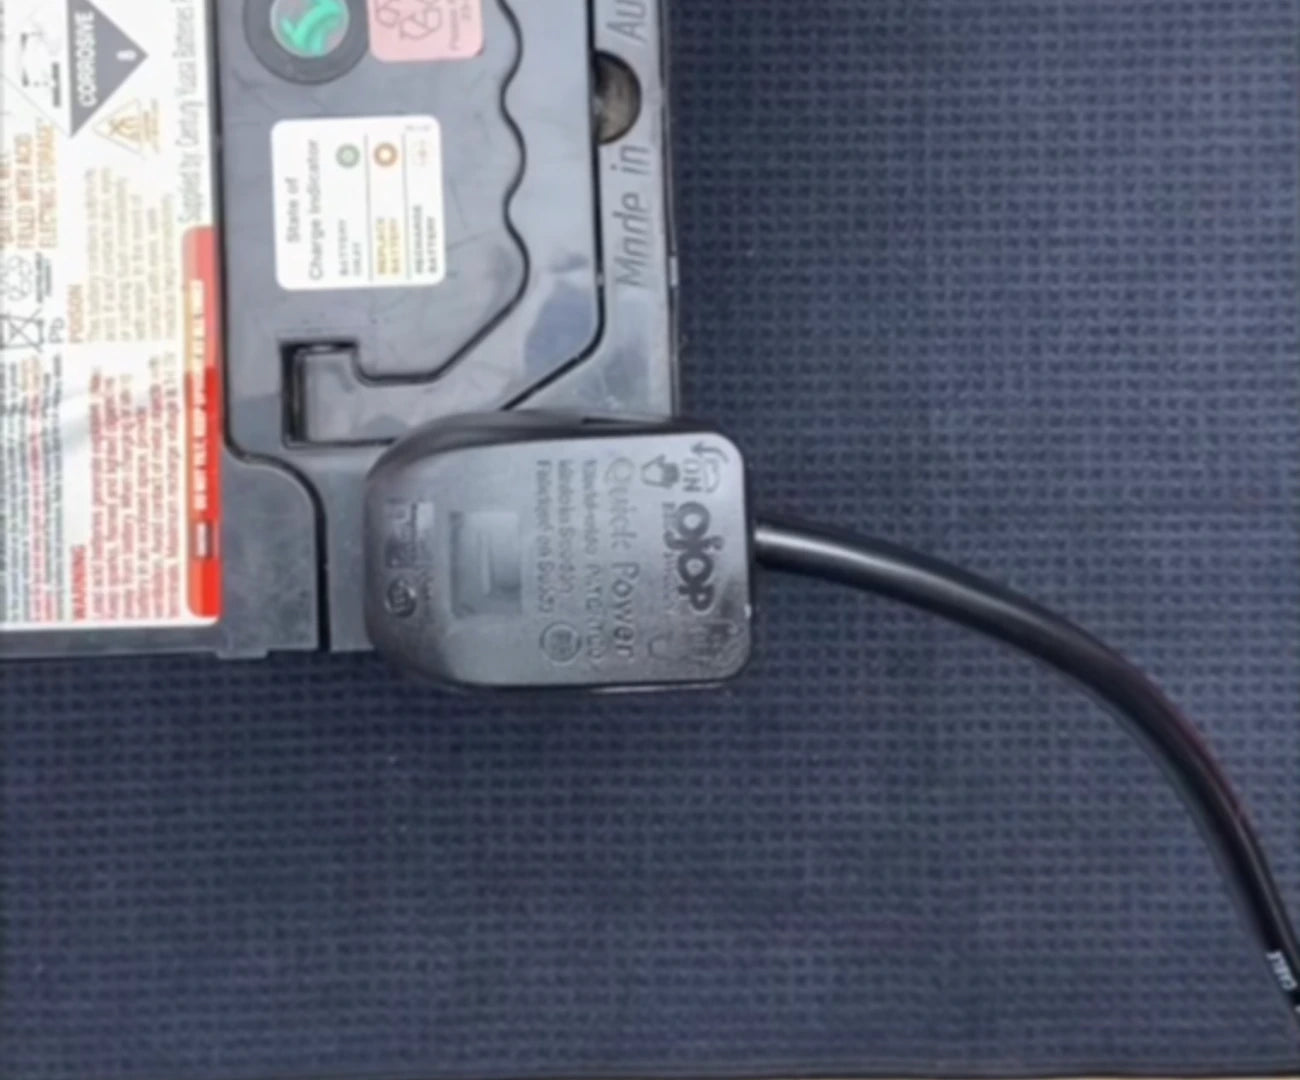
Fit the terminals
Push each terminal onto the battery post - red to positive (+), black to negative (-) - then press the clamp down to lock. That's it.
Will it fit your setup?
Why it's worth doing once.
Ready to make
the switch?
Fit it once. Never reach for a spanner again.