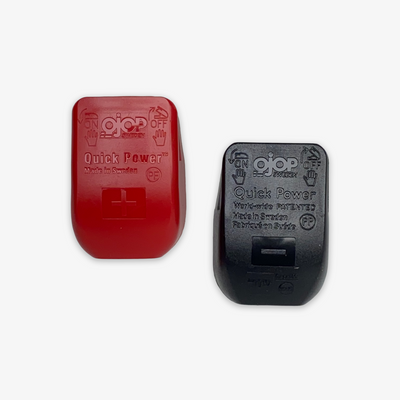
How to Install KLAST Quick Release Battery Terminals
Installing your KLAST Quick Release Battery Terminals is simple. Follow the steps below to get set up in minutes.
2-Minute Job
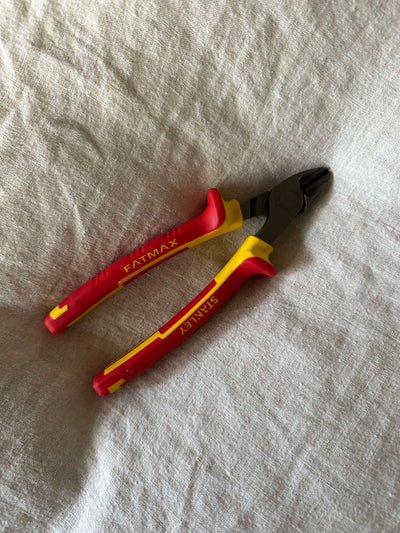
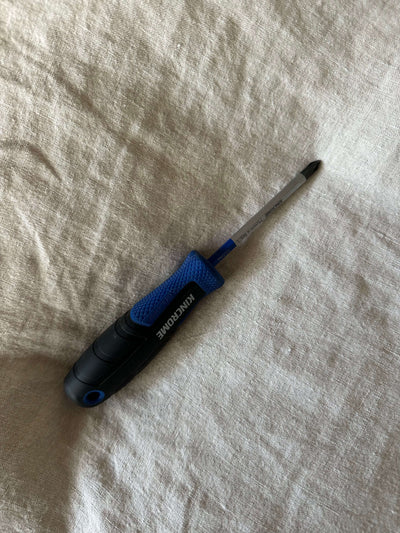
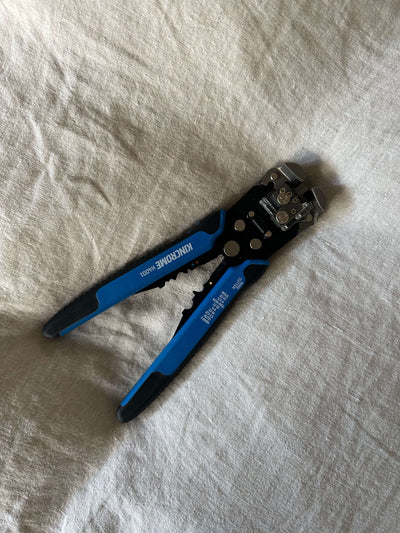
3 Tools Required