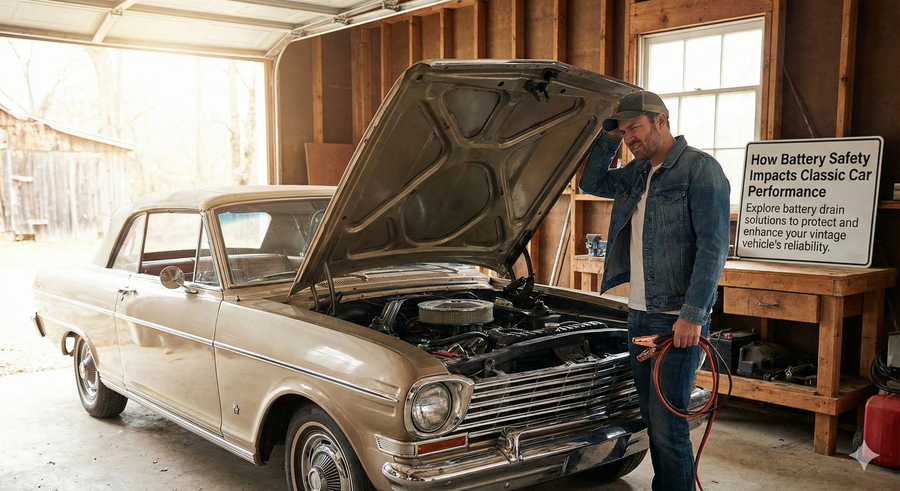
Discover hands-on techniques to pinpoint and fix battery issues in classic vehicles.
Learn systematic methods to identify and fix battery drain in your classic car. This tutorial offers practical solutions using basic tools, ensuring your battery holds charge longer.
TL;DR
- Normal parasitic draw is under 50mA - Anything higher will flatten your battery during storage and needs diagnosis.
- Use the fuse-pull method - Connect a multimeter in series with the battery, then pull fuses one by one until the reading drops.
- Common culprits in classics - Interior light switches, aftermarket stereos, stuck relays, and failing voltage regulators cause most drains.
- Test systematically, not randomly - Document readings and work through every fuse to avoid missing secondary problems.
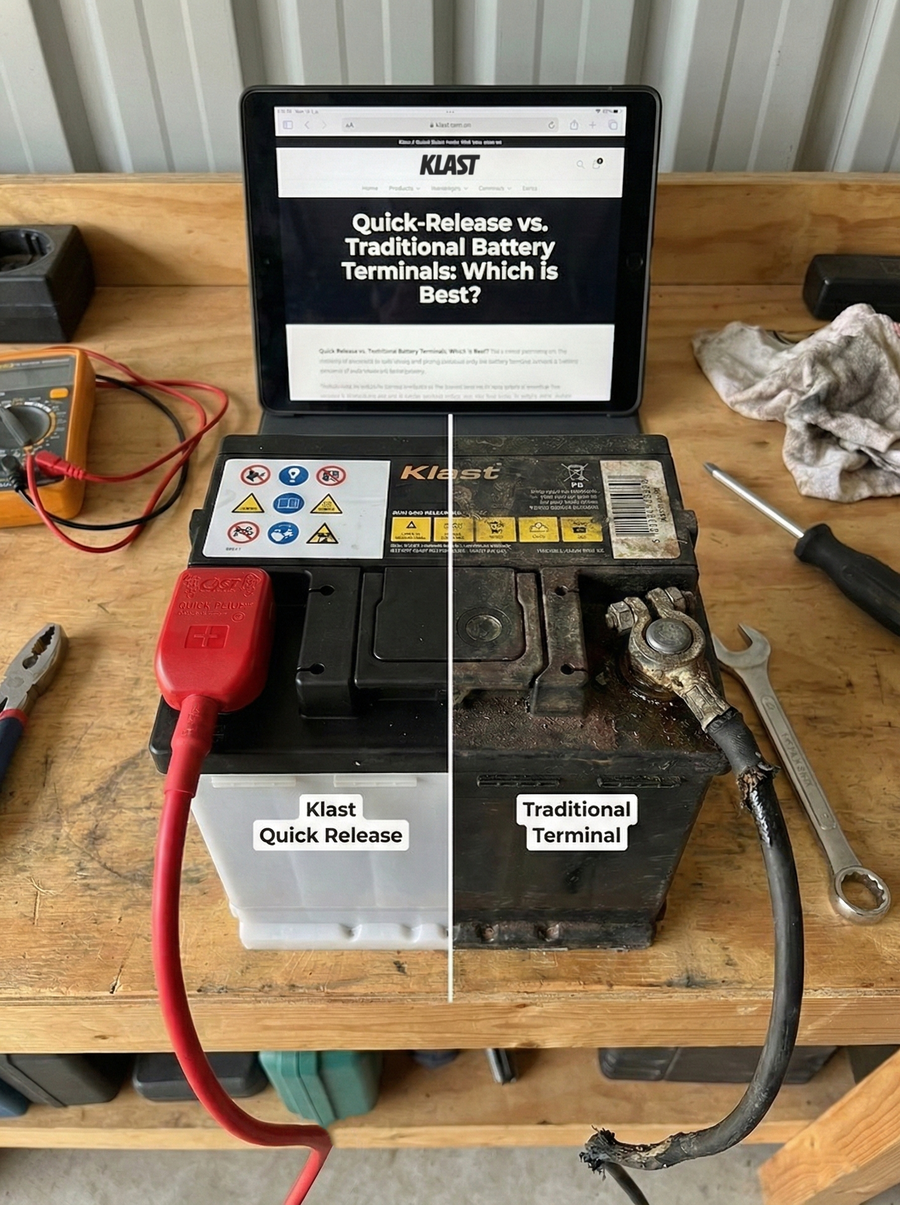
- Consider quick-release terminals - The Klamp from Klast allows instant battery isolation for storage without tools, preventing drain entirely.
What You Will Achieve
By the end of this tutorial, you will identify and fix the source of battery drain in your classic car. You will learn systematic testing methods that pinpoint parasitic draws without guesswork. Your success criteria: a battery that holds charge for weeks of storage, not days.
These battery drain solutions work on any classic vehicle, from British roadsters to American muscle. No dealer visit required. Just you, basic tools, and methodical troubleshooting.
Prerequisites and Setup
Time required: 45 minutes to 2 hours, depending on complexity.
Tools you need:
- Digital multimeter (any model with DC amp and milliamp settings)
- Test light (optional but helpful for visual confirmation)
- Fuse puller or needle-nose pliers
- Notepad and pen for recording readings
- Fully charged battery (charge overnight before testing)
Potential blockers: Aftermarket stereos, alarms, or accessories complicate diagnosis. Note any modifications before starting. A dead battery must be charged first, as testing requires power in the system.
Why This Approach Works
Many classic car owners replace batteries repeatedly without solving the underlying problem. This wastes money and leaves you stranded at shows. The systematic fuse-pull method isolates the exact circuit causing drain.
Alternative approaches like visual inspection miss hidden draws. Disconnecting components randomly takes longer and risks damage. This method is faster, safer, and definitive.
Step 1: Prepare Your Vehicle for Testing
Action: Park on level ground, engage the parking brake, and turn off all accessories. Close all doors, boot, and bonnet. Wait 30 minutes.
Classic cars with interior lights, clocks, or aftermarket components need time to enter "sleep mode." Some modules stay active for up to 30 minutes after shutdown. Testing too early gives false readings.
Expected result: Vehicle completely dormant with no lights, sounds, or activity.
Common failure: Boot light stays on due to faulty switch. Check by pressing the switch manually while observing the light.
Step 2: Set Up Your Multimeter
Action: Turn your multimeter dial to the DC Amps setting (typically marked "A" or "10A"). If your meter has multiple amp ranges, start with the highest (usually 10A) to protect the fuse.
Connect the red probe to the amp input jack, not the voltage jack. This is a common mistake that blows meter fuses or gives no reading.
Expected result: Meter displays "0.00" or "OL" (open line) before connecting to the circuit.
Common failure: No reading appears. Check that probes are in correct jacks. The amp jack is separate from the voltage jack on most meters.
Step 3: Disconnect the Negative Battery Terminal
Action: Loosen the negative terminal clamp and slide it off the battery post. Do not let it contact any metal.
For classic car owners who frequently disconnect batteries for storage or shows, quick-release terminals like the Klamp from Klast eliminate this step entirely. One lever releases the connection without tools.
Expected result: Terminal moves freely without touching the post or surrounding metal.
Common failure: Corroded terminals resist removal. Clean with a wire brush or baking soda solution before proceeding.
Step 4: Connect the Multimeter in Series
Action: Touch the red probe to the negative battery post. Touch the black probe to the disconnected negative cable clamp. Hold firmly for a stable reading.
You are now measuring all current flowing through the electrical system. The meter completes the circuit, allowing you to see exactly how much power the car draws at rest.
Expected result: A reading appears on the display. Healthy classic cars show 20 to 50 milliamps (0.02 to 0.05 amps). Readings above 100 milliamps indicate a problem.
Common failure: Reading shows "OL" or nothing. Ensure both probes make solid contact. Clean battery post if corroded.
Step 5: Record Your Baseline Parasitic Draw
Action: Write down the exact reading. If your meter shows amps, multiply by 1000 to convert to milliamps. Example: 0.15A equals 150mA.
This baseline tells you the severity of your drain. A 150mA draw will flatten a typical classic car battery in about 4 days. A 500mA draw kills it overnight.
Expected result: You have a specific number to reference as you isolate circuits.
Step 6: Locate Your Fuse Box
Action: Find your vehicle's fuse panel. Most classic cars have one under the dashboard or in the engine bay. Some have multiple locations.
Consult your owner's manual or a marque-specific resource for exact locations. British cars often mount fuses on the firewall. American classics typically use underdash panels.
Expected result: Fuse panel accessible with fuse layout visible or documented.
Common failure: Previous owner relocated fuses during modifications. Trace wires visually if standard location is empty.
Step 7: Pull Fuses One at a Time
Action: While watching your multimeter, pull one fuse. Note any change in the reading. Replace the fuse. Move to the next one. Repeat for every fuse.
Work systematically from one end to the other. Do not skip fuses. The guilty circuit will cause a significant drop when its fuse is removed.
Expected result: When you pull the problem fuse, your reading drops to normal range (under 50mA).
Common failure: Multiple circuits show draws. This indicates several problems or a shared ground issue. Address the largest draw first.
Step 8: Identify the Problem Circuit
Action: Once you find the fuse that drops your reading, note its label. Common culprits in classic cars include:
- Interior lights (stuck switches, aftermarket LEDs)
- Aftermarket stereos (constant memory draw)
- Electric fuel pumps (relay stuck closed)
- Alarm systems (malfunctioning modules)
- Voltage regulators (internal short)
Expected result: You know exactly which circuit contains the drain.
Reference: The Hagerty maintenance guides cover circuit-specific troubleshooting for popular classics.
Step 9: Isolate the Component
Action: With the problem circuit identified, disconnect components on that circuit one at a time. Start with the easiest to access.
For example, if the "accessories" fuse showed the draw, unplug the cigarette lighter, then the radio, then the clock. Recheck your meter after each disconnection.
Expected result: Disconnecting the faulty component drops your parasitic draw to normal.
Common failure: Draw persists after disconnecting all visible components. The problem may be in the wiring itself, often a chafed wire grounding against the body.
Step 10: Repair or Isolate the Fault
Action: Once you identify the specific component, you have three options:
- Repair: Fix the component (replace relay, repair switch, resolder connection)
- Replace: Install a new component
- Isolate: Disconnect the component permanently if non-essential
For battery troubleshooting that reveals multiple small draws, consider installing a battery disconnect. The Klamp from Klast allows instant isolation without removing terminals, perfect for show cars that sit between events.
Expected result: Parasitic draw returns to acceptable levels (under 50mA).
Step 11: Verify Your Fix
Action: Reconnect your multimeter in series as before. Confirm the reading stays below 50mA. Wait 5 minutes to ensure no modules wake up.
Close all doors and check that the reading remains stable. Some interior light switches take time to register a closed door.
Expected result: Consistent reading under 50mA with all doors closed and systems dormant.
Common failure: Reading climbs after a few minutes. A module is waking up. Repeat the fuse-pull test to identify which circuit activates.
Step 12: Reconnect and Test Storage
Action: Remove the multimeter. Reconnect the negative terminal firmly. Start the vehicle to confirm all systems function normally.
Park the car for one week without driving. Check battery voltage after 7 days. A healthy battery should read above 12.4V.
Expected result: Battery maintains charge during storage. No more dead batteries at shows.
Configuration and Customization
Acceptable draw thresholds: Factory classics with no modifications should draw under 25mA. Cars with electronic ignition may draw 30 to 40mA. Aftermarket alarms add 10 to 20mA.
Must-change settings: Aftermarket stereos often have constant 12V memory wires. Consider wiring these through the ignition switch to eliminate draw when parked.
Safe modifications: LED interior lights draw less than incandescent but can still drain batteries if switches fail. Quick-release terminals like the Klamp provide a failsafe for long storage periods.
Testing Edge Cases
Test your fix under different conditions:
- Doors open and closed (interior light circuits)
- Bonnet open and closed (under-bonnet light)
- Boot open and closed (boot light)
- Headlights cycled on and off (relay sticking)
A complete battery troubleshooting session accounts for all these variables. One overlooked switch negates your other repairs.
Common Errors and Fixes
Error: Multimeter fuse blows when connecting.
Cause: Probes in wrong jacks or meter set to voltage instead of amps.
Fix: Replace meter fuse. Verify red probe is in the amp jack. Set dial to highest amp range.
Error: Reading fluctuates wildly.
Cause: Poor probe contact or intermittent draw.
Fix: Clean battery terminals. Use alligator clip leads for hands-free testing. Wait for reading to stabilise.
Error: All fuses pulled but draw persists.
Cause: Unfused circuit drawing power (alternator, starter solenoid, direct battery connections).
Fix: Check for wires connected directly to battery positive. Inspect alternator diodes with a diode test.
Error: Fixed the draw but battery still dies.
Cause: Battery damaged from repeated deep discharge.
Next Steps and Extensions
With your drain solved, consider these improvements:
- Install a battery disconnect: The Klamp from Klast provides tool-free isolation for storage. Order from klast.com.au with fast shipping from Adelaide.
- Upgrade to a maintenance charger: A quality trickle charger keeps batteries topped up during long storage.
- Document your electrical system: Create a wiring diagram noting all modifications for future troubleshooting.
These battery drain solutions apply to any future issues. You now have the skills to diagnose electrical problems systematically, saving time and money while keeping your classic reliable.
Frequently Asked Questions
How long should a classic car battery hold charge when parked?
A healthy battery with normal parasitic draw (under 50mA) should hold sufficient charge for 4 to 6 weeks. If your battery dies within days, you have an excessive draw that needs diagnosis using the fuse-pull method described above.
Can I use a test light instead of a multimeter for battery troubleshooting?
A test light works for detecting large draws but lacks precision. It will glow brightly with a 500mA draw but may not illuminate with a 100mA draw that still kills batteries. A multimeter gives exact readings, making diagnosis faster and more accurate.
Why does my battery drain only happen sometimes?
Intermittent drains often come from sticky relays or switches that fail to disengage. Temperature changes can trigger these faults. Test when the problem occurs, as the draw may not appear during normal testing conditions.
Should I disconnect my battery between drives to prevent drain?
For classic cars driven weekly, disconnection is unnecessary if parasitic draw is normal. For show cars sitting weeks between events, disconnection protects battery life. Quick-release terminals like the Klamp make this practical without tools.
What causes alternator diodes to drain batteries?
Diodes allow current to flow one direction only. When a diode fails "shorted," it allows battery current to flow backward through the alternator windings. This drain bypasses all fuses, requiring direct testing at the alternator.
How do I know if my battery is damaged from repeated draining?
A battery that has been deeply discharged multiple times loses capacity permanently. Signs include slow cranking even when fully charged, voltage dropping quickly under load, and inability to hold charge for more than a few days despite fixing all drains.